
Charcuterie 101: How do I arrange my board?
Welcome to the Board Tour— a blog where we explore the world of charcuterie and share some of our favorite artisanal cheeses, tips, and tricks. Charcuterie 101 is our 5-part series focused on the building blocks behind the craft. From choosing your cheeses to incorporating the elements of design, we’ll cover everything you need to know about creating your own board.
by: Lauren Barker | owner/cheese artist
Now that you have all of the ingredients for your charcuterie board it’s time for the fun part - putting them all together! I like to think of the board as my canvas and apply the elements of design to the arranging process, almost like I’m creating a painting. Try applying some of these basic elements to your next creation!
Pick a Focal Point
Establishing a focal point for your board and building out from there will make it easier to craft a cohesive design in every part of the arranging process. A focal point qualifies as anything that catches the eye and draws it into the rest of the design. A few ideas for creating a focal point on your board include:
Placing a wheel of brie in the center and building around it - this is an especially appealing design for round boards!
Choosing an eye-catching ingredient such as an open pomegranate, a large cheese wedge, a salami rose, or some thematically shaped cookies and placing it on the board using the rule-of-thirds
Cutting some letters out of cheese and spelling out a message. I personally swear by havarti for my cheese lettering, but really any semi-hard cheese with a springy texture such as fontina or Swiss will do the trick.
Tip: try to avoid any aged cheeses for making letters/shapes as they will break apart more easily while cutting
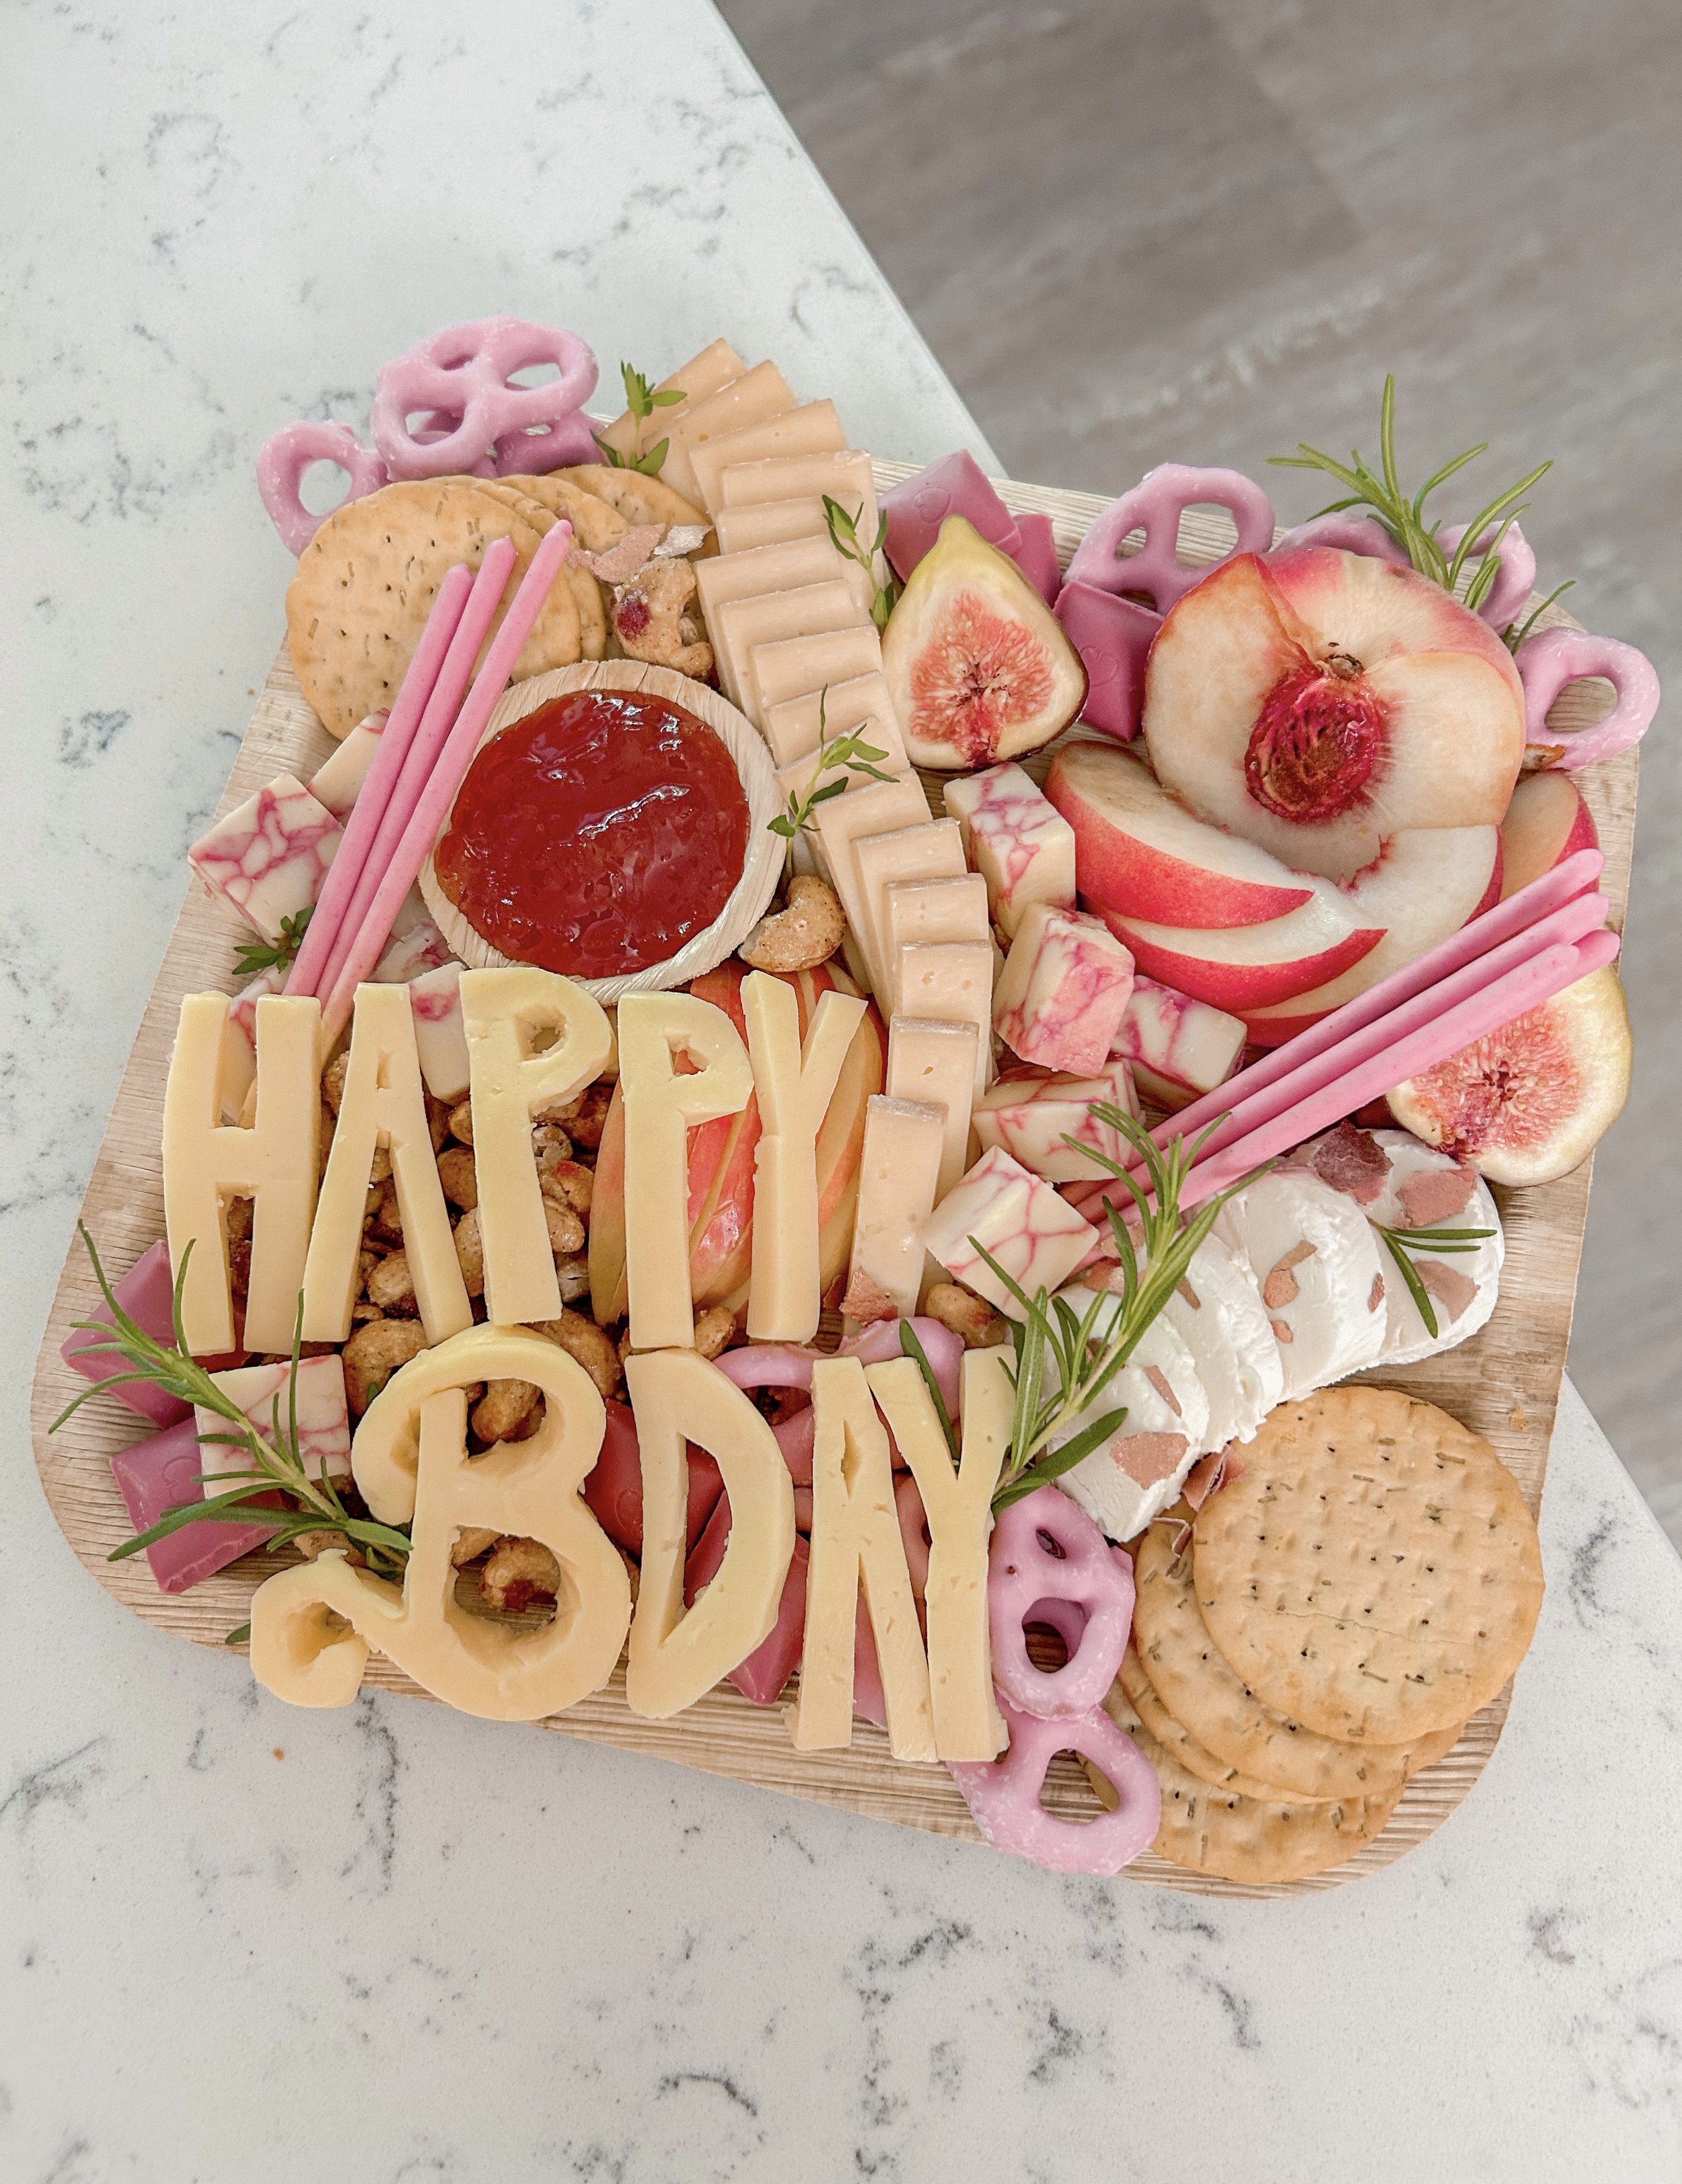
Writing a message out of cheese makes for an eye-catching focal point.
Create a Guiding Line
Help move feasting eyes through the board by drawing a guiding line with your ingredients. I recommend starting the line at an outer edge and working your way towards the focal point. Rather than drawing a straight line, try to meander it a bit so that it can interact with more areas on the board. Some of my favorite ingredients to use as guiding lines are:
A Bellavitano cheese wedge sliced and fanned out into a path on your board. Bellavitano is a hybrid between a cheddar and a Parmesan and comes in so many flavor varieties (my personal favorite is the Cabernet).
Salami, or more specifically, creating a salami river by folding each piece into a triangle and overlaying slightly offset on top of each other. The vibrant reds and pinks of the salami will really make this guiding line pop.
Semi-hard cheeses cut down into triangles and laid out in a line with alternating slopes. The dimensional effect this technique creates adds a sophisticated texture to your line.
A thinly sliced cucumber fanned out with the end pieces of the fruit starting and ending the line. Just be mindful not to let this guiding line touch any crackers, as the flesh of the cucumber may soften crackers the longer they sit together.

An example of some guiding lines on a grazing table.
Add Some Contrast
Creating contrast in a design brings a sense of visual balance while also drawing the eye into a focal point. To achieve this effect in your charcuterie, there are a couple key placement techniques to keep in mind:
Place darker ingredients next to lighter ones. This will help the individual ingredients stand out and bring a sense of vibrancy to the finished product. For example, if you are working with darker fruits, jams, and chocolates, place them all in different areas of the board, preferably next to some cream toned cheeses or light shade of nuts.
Make note of foods with a similar color and try dispersing them throughout your board. Doing this will allow that color to move the eye through your design. This is an especially useful trick if you’re aiming to capture a theme!
Save the Small Stuff for Last
A primary goal when arranging charcuterie is to fill every inch of your board with delicious food. One of the best ways to do that is by scattering your smallest foods at the end to fill in any empty spaces. Working your way from large to small will also help you make room for every ingredient on your board. Some of my favorite scattering foods to work with are:
Blueberries
Marcona almonds
Sahale Snacks nut mixes
Pomegranate seeds
Chocolate-covered espresso beans
Shelled pistachios
The Last Slice
Next time you’re staring at any empty board and not sure where to start, let these basic elements guide you through the arranging process. Remember to:
Start by establishing a focal point
Move the eye through the board with a guiding line
Balance your design by creating contrast
Save the small foods for last to fill in empty spaces
Tip: Want to keep your crackers crisp? Don’t let the fruit touch the crackers. The juices from the fruit will soften them over time. Instead, create a protective barrier for your crackers using cheese, nuts, cured meat, or chocolate.